Extended Triangle Pose: Yoga for Pregnancy
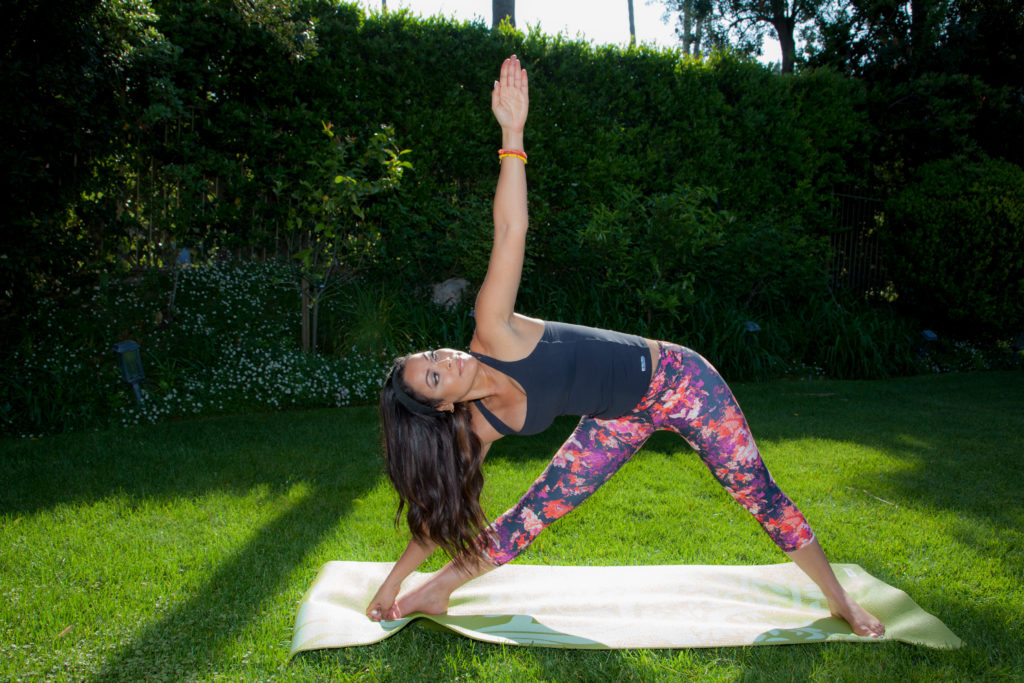
Pregnancy is a beautiful time in any woman’s life as it brings the promise of new life and love. Unfortunately, it can also, at times, cause a great deal of discomfort, pain, insomnia, and fatigue. The “Extended Triangle Pose” can help with these discomforts, and benefit your health in many other ways as well. Here […]
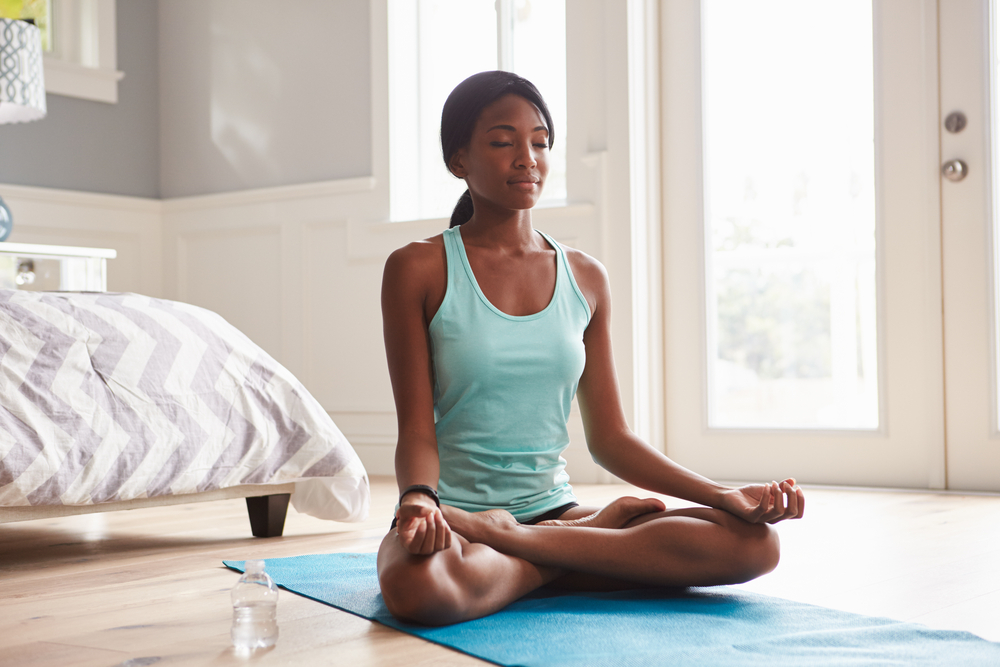
Easy Pose (Sukhasana) – Yoga for Insomnia
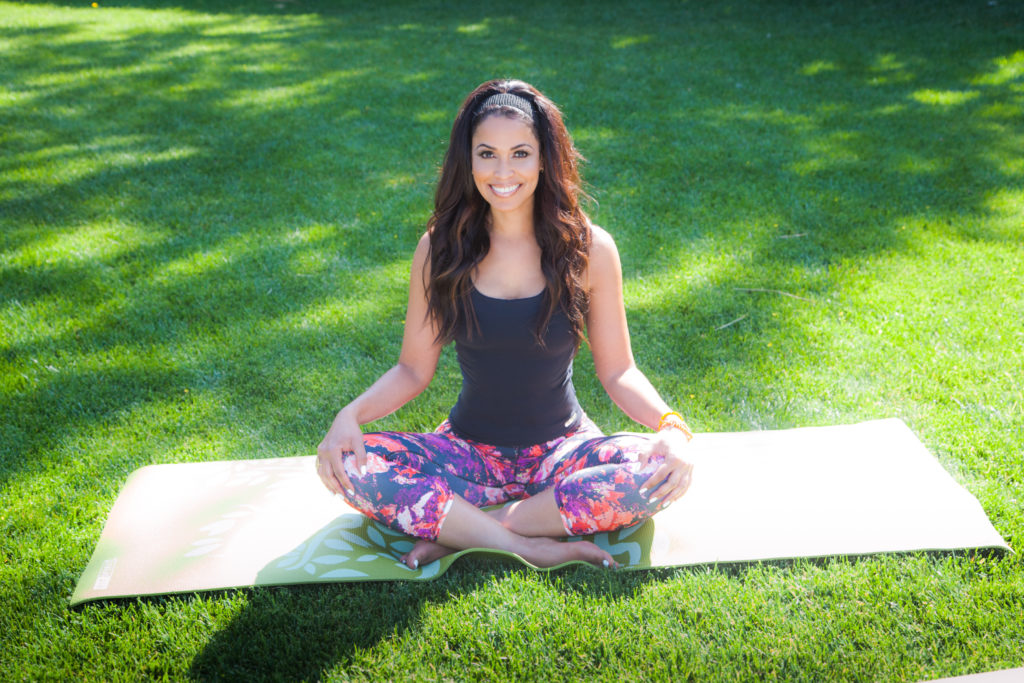
Insomnia plagues millions of people worldwide. Not only does it leave people tired, it negatively effects their day-to-day operations, making it difficult to take care of their children, work successfully, or even take care of things at home. While there are medications out there that can help alleviate insomnia, not everyone wants to take medication. […]
Eagle Seal (Garuda Mudra) – Yoga for Calm
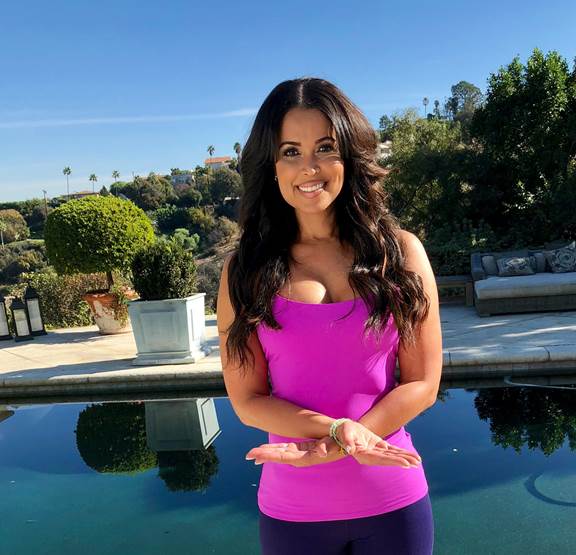
The “Eagle Seal Pose” (Garuda Mudra) is extremely simple, perhaps one of the simplest when it comes to yoga poses. However, do not let its simplicity fool you; it is still a highly effective pose, and promotes a calm mind and body. I am sure there will be some doubters out there once they see […]
Bow Pose (Dhanurasana) – Yoga for Fatigue
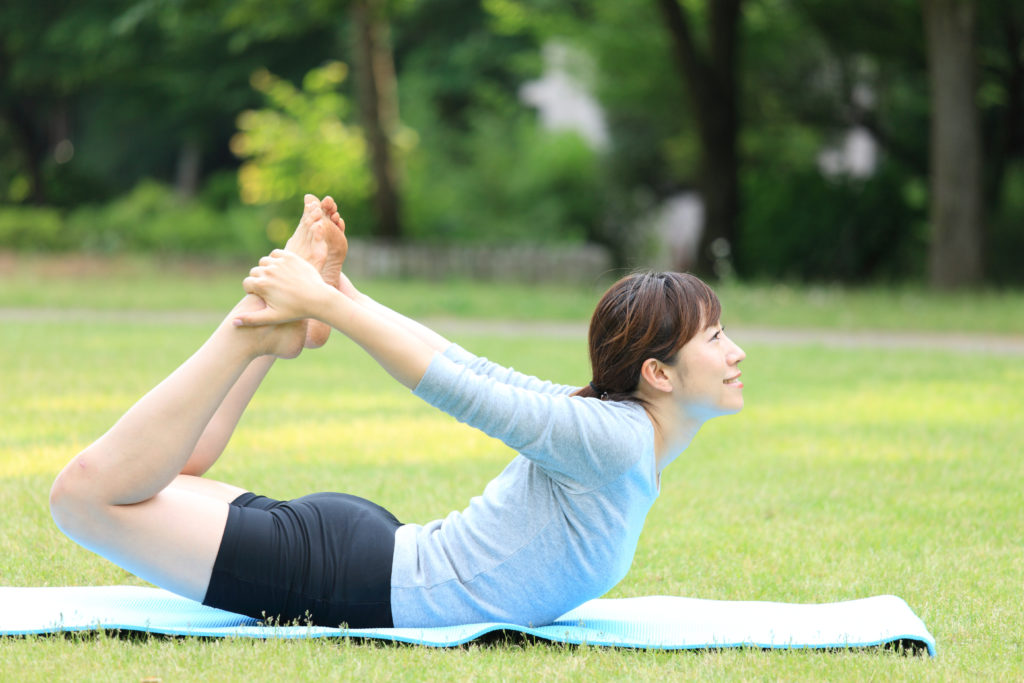
It happens, sometimes we do not get sleep and then we are left feeling fatigued throughout the day, making it difficult to get through work or any other responsibilities we might have. Therefore, it can be handy to keep a few yoga postures like the “Bow Pose” (Dhanurasana), which helps alleviate fatigue, in your arsenal […]
Bound Angle Pose (Baddha Konasana) – Yoga for Everything
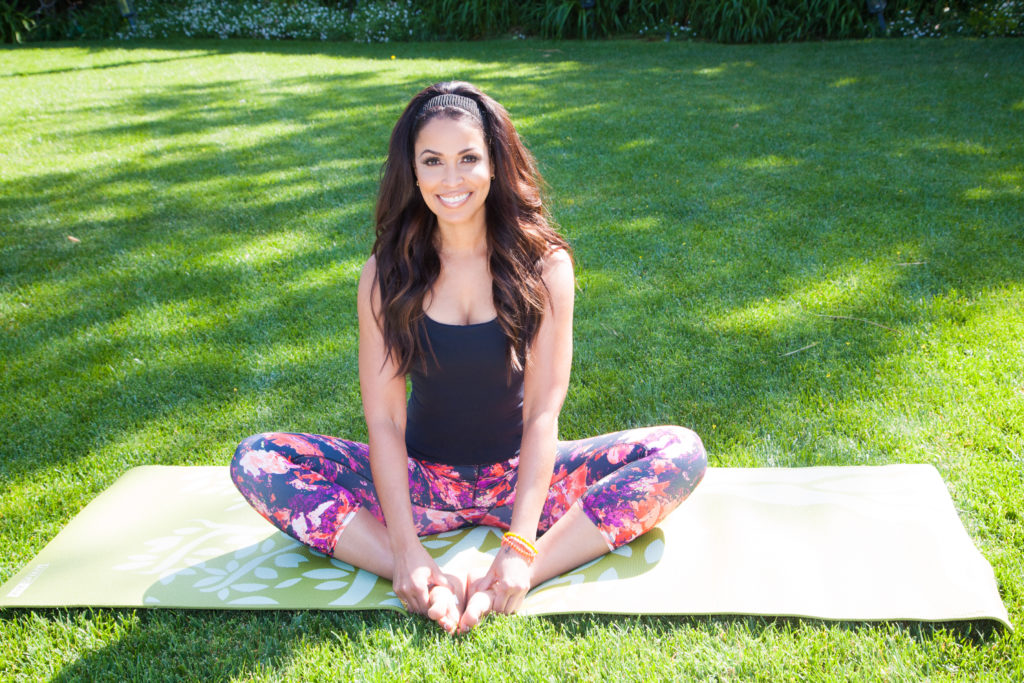
“Bound Angle Pose,” also known as “Baddha Konasana,” is truly unique because it does not work your outer muscles, it works the body internally. It is a therapeutic groin and hip opener that can also help boost your fertility and more. Let’s take a look at some of the tremendous health benefits of the “Bound […]
Big Toe Pose (Padangusthasana) – Yoga for Anxiety
All of us suffer from anxiety from time to time, and yoga can help. The Big Toe Pose (Padangusthasana) is one of the best yoga poses for anxiety because it helps to calm your brain, relieve stress, and ease the mind. Here are some of the wonderful benefits of the Big Toe Pose (Padangusthasana): 1. […]
How to Overcome the 4 Most Common Thoughts that Create Mental Agitation
Your mind is always busy. You really notice just how busy it is when you finally sit down to meditate. Those racing thoughts are perfectly normal. In fact, Eastern teachings liken the mind to a monkey that has been bitten by a scorpion jumping from tree to tree. It won’t stop no matter how much […]
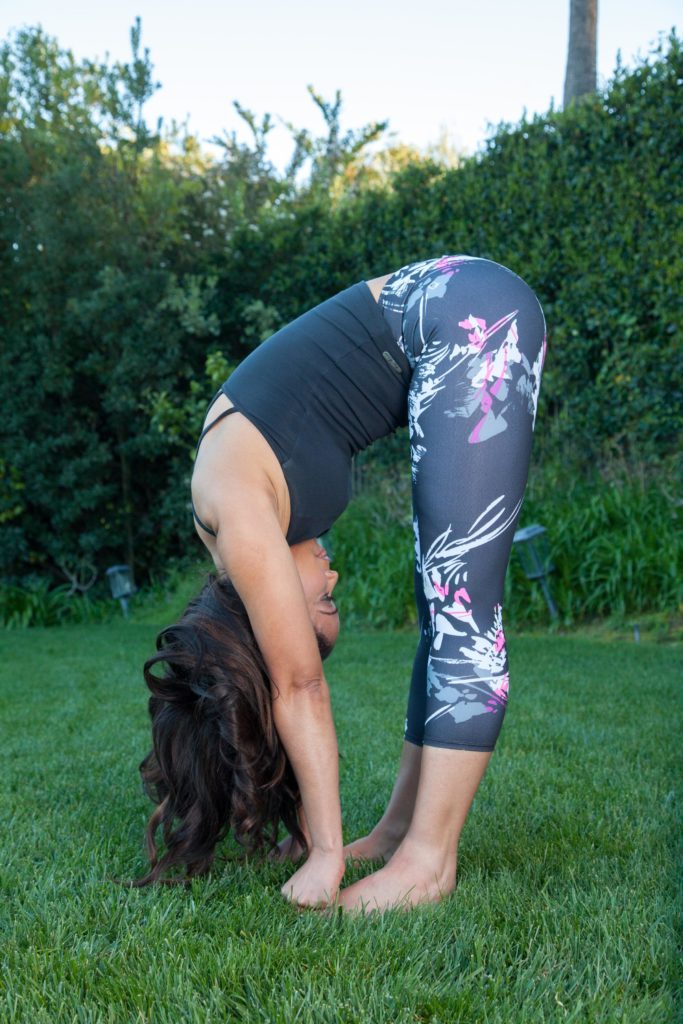
Wide-Legged Forward Bend: Yoga for Depression
Depression is an unfortunate condition that haunts millions. In lieu of antidepressants, yoga can help tremendously with depression. There are many yoga poses and entire routines designed to help those suffering from depression. The “Wide-Legged Forward Bend” is one of the easier and more effective poses for depression, and it also boasts multiple other benefits. […]
Upward Salute: Yoga for the Shoulders

The “Upward Salute” (Urdhva Hastasana) is another pose you might find in the middle of a lot of common flows, especially the gentler ones for beginners. This pose is excellent for anyone with tight arms and shoulders. Also known as a sun salutation, it is an excellent addition to any morning routine. Here are some […]